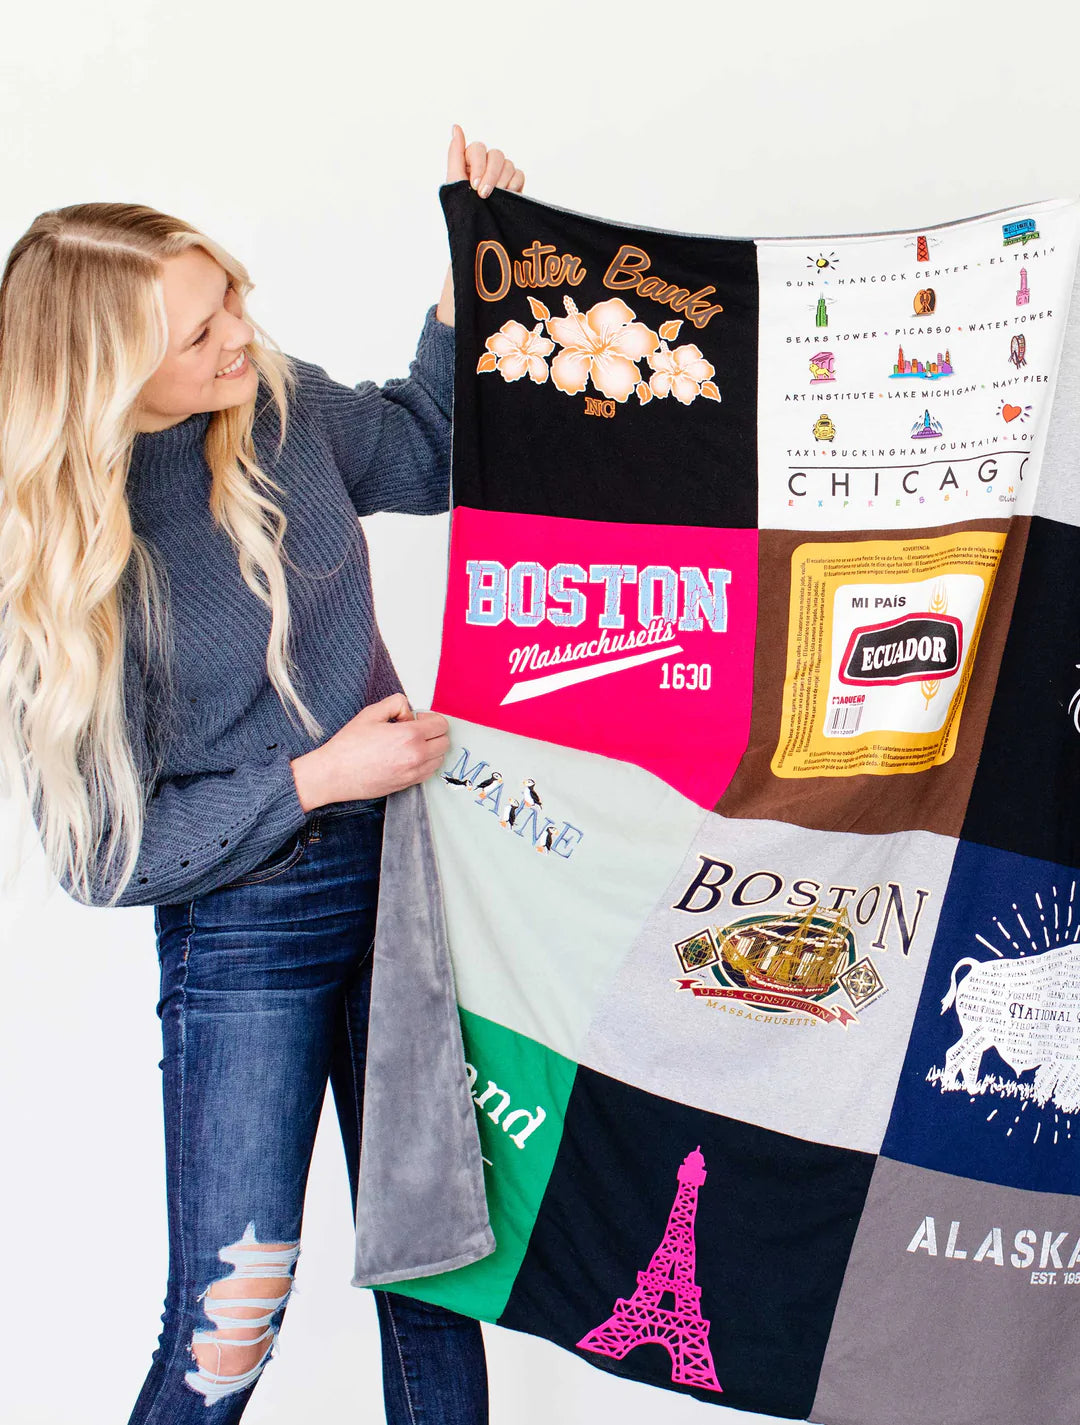
Transform Graduation Shirts into a T-Shirt Blanket
Are your kids growing up? Leaving home? Are they leaving behind drawers of old high school shirts and other graduation shirts? Can you not bear to simply throw all the memories out? What better way to preserve those graduation shirts than to sew them together into a t-shirt blanket?
You can create the perfect memory t-shirt blanket in just five easy steps!
Don’t worry though, if you’re intimidated by this crafty project, there are online retailers ready to make you your very own t-shirt blanket, perfect to gift to your high school or college grad to incorporate all of their favorite graduation shirts.

Step 1:
Grab your kids’ graduation shirts. The ones they loved when they were younger, the ones they wore every day for a week straight, and the ones they refused to let you wash. Figure out how big you want the blanket to be and how many graduation shirts you’ll need for that size.
Here’s an estimate of how many shirts you’d need for each size of blanket:
Lap | 16 shirts
Twin | 24 shirts
Full | 30 shirts
Queen | 49 shirts
King | 64 shirts
Step 2:
Using your rotary cutter and a mat, cut the shoulder seam, sleeve seams and side seams of each graduation shirt to separate the front from back.
You’ll then need to cut out panels. Pick a panel size, possibly 12x12 or 14x14, and cut the panels out using a ruler and rotary cutter. You’ll need 12 ½ inches of fabric for 12x12 panels and 14 ½ inches of fabric for 14x14 panels.
Pick the panel size based off the size of shirts and the size of the graphics on the shirts.
Step 3:
Lay out your squares to find a pleasing configuration. Pay attention to colors and prints to not bunch up similar graduation shirts in the same area.
Now it’s time to sew your rows. Take your first and second squares from the first row graphic sides together and sew the left side. Next, put square 3 on square 2 and sew the right edge together. Continue until you’ve sewn your row. Press seams open to reduce bulk.
Once all your rows are made, it’s time to put them together. Pin row 1 to row 2 graphic sides together, aligning seams and sew the top seam. Then, press your seam open. Repeat until all your rows are sewn together.
Step 4:
Find a material to use as the backing and sew the front and back together. Have fun with the color, print, and material. The possibilities are endless!
Pick out your grad's favorite color or one of their school colors. This is the opportune time to find a color or print that unites your graduation shirts together or makes them stand out even more.
Step 5:
Wrap it up and gift it to your child. It’s perfect for Christmas, birthdays, or graduation gifts! It’ll make the perfect addition to any dorm room bed or small apartment couch. Watch your kid show it off to their friends and on their social media.
Anyone will love this unique, thoughtful gift that will keep their memories and graduation shirts stitched together for years to come. Whether it’s handmade by you, carefully crafted by a local sewing business, or put together by an online retailer, they’ll love it just the same.
Like this post? Check out our other content below!
4 Different Ways to Make a T-Shirt Quilt
Make Baby Onesie Quilt in 5 Easy Steps
Five Biggest Mistakes for T-Shirt Quilts
7 Ideas to make your Graduation Quilt Special
5 Easy Steps to making a Baby Keepsake Blanket
How to Make Pillows in 3 Easy Steps
New Years Resolution: Upcyling T-Shirts
Best Fabrics and Shirt Types for your t-shirt quilt
Top 5 College Student Gifts - Ultimate Guide
How to Make College Quilts from Old T-shirts
3 things you must know before buying a t-shirt quilt
Making custom quilts in 5 easy steps
How to Make a T-shirt Quilt in 4 Easy Steps
Sorority T-Shirt Quilt in 5 Easy Steps
Making a T-Shirt Pillow - Fast, Easy, & Fun
7 Ideas to make your Graduation Quilt Special
5 Easy Steps to making a Baby Keepsake Blanket
Three steps to fixing your t-shirt quilt
The best 4 ways to clean out your closet
Sign up to be the first to receive new content!


