



Design Tips for a T-Shirt Memory Quilt You’ll Love Forever

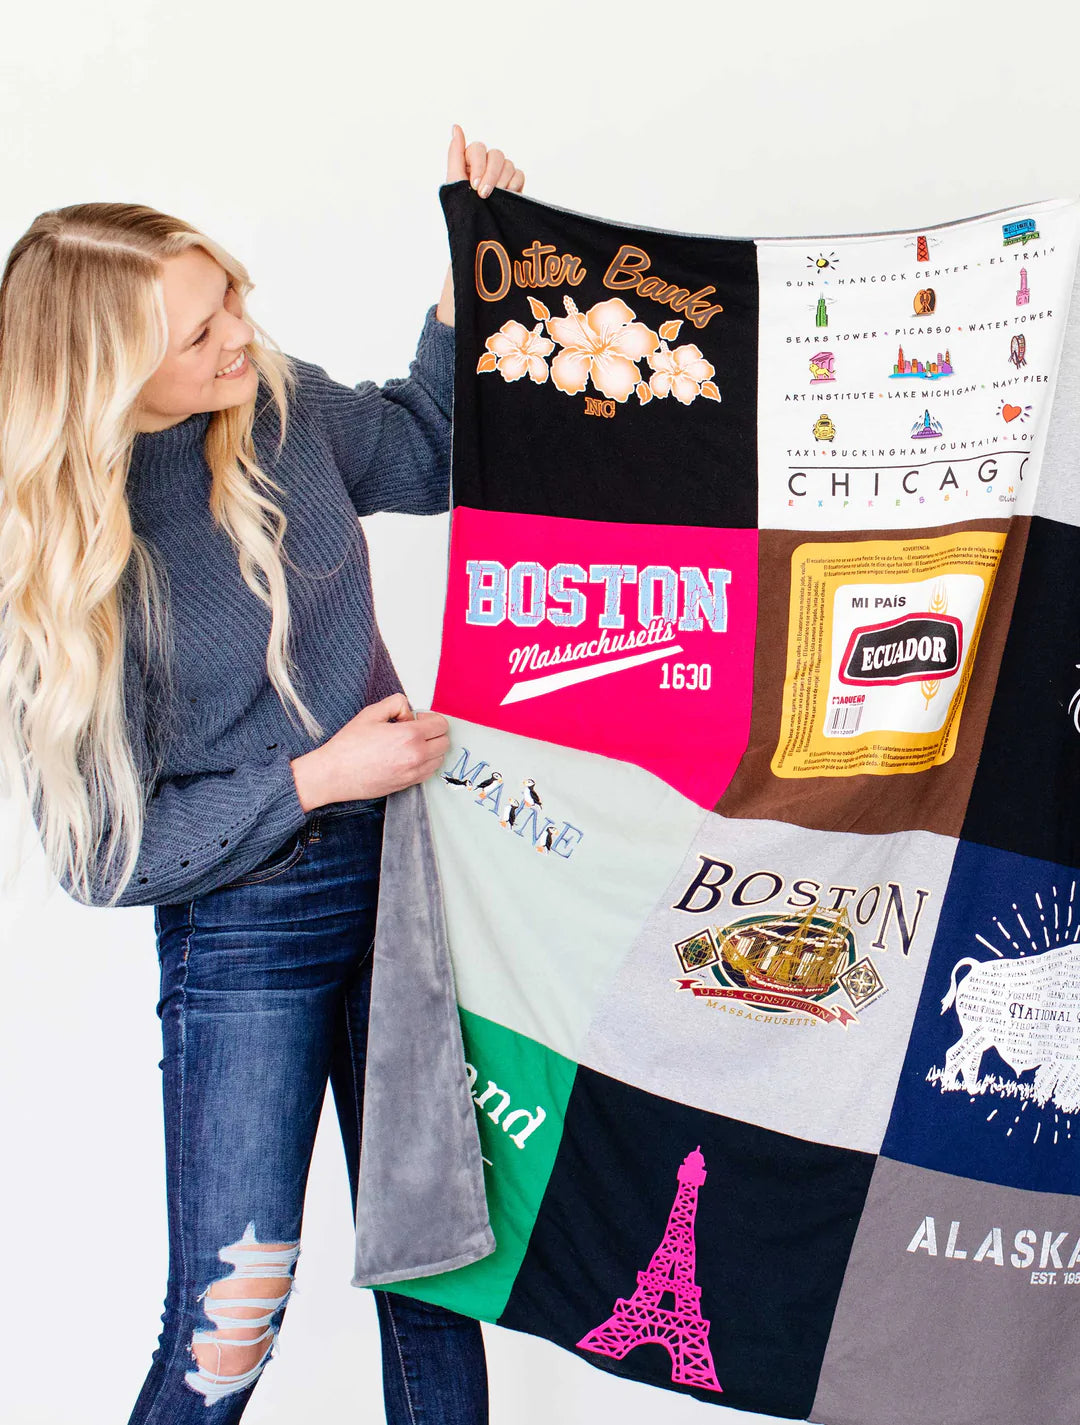
What do you want your t-shirt quilt to say about you? And, even more simply than that, what do you want it to look like? As a keepsake that stitches together your most cherished memories, a memory quilt can feel a bit daunting to design. You may want to include a real hodge-podge of shirts you’ve collected from various points of your life––complete with loud, distinct colors, patterns and logos. Well, don’ t worry! Even the most eclectic collection of t-shirts can become a beautiful quilt with some help.
No matter what level of confidence you have in your design abilities, we’re here to help make your quilt look stunning with a few quick tips. After all, deciding to preserve your memories forever is the easy part, but designing the perfect quilt is the part that’s the most fun! So, here are 5 top design tips to keep in mind while preparing your t-shirts for MemoryStitch.
TIP #1: START WITH CHOOSING T-SHIRTS YOU LOVE

Let’s start these tips off with something very important to keep in mind throughout: use whatever shirts you want! As we already discussed above, any combination of t-shirts can become a beautiful quilt, so choose whatever shirts speak to you the most first and think about laying them out as the front of a quilt later.
Of course, if you choose your shirts based on a theme––like school spirit shirts at the end of high school, concert shirts, sport shirts or similar themes––it will be even easier to give your quilt a cohesive look. But, again, it’s more about following your heart about which shirts are your favorites than worrying too much about how they all go together. Regardless of the shape, color, graphic or pattern, each shirt on your quilt will tell the story of you, so now is the time to show off who you are with your favorite clothes.
Additionally, while choosing shirts it’s helpful to know how many shirts you’ll need. Standard t-shirt quilts have between 16 and 64 t-shirts depending on the size, and double-sided t-shirt quilts have twice that: from 32 to 128 shirts per quilt! And for the coziest option, the Fuzz Monsta Quilt only needs 12 to 20 shirts, perfect for smaller collections.
TIP #2: THINK ABOUT WHERE YOUR MEMORY QUILT WILL BE DISPLAYED

One more thing to think about before laying out all of your shirts is where and how you plan to show off the quilt. Will the quilt be a college dorm room bedspread? Will it be hanging on a wall in the living room? Will it be journeying with you in your car to football games? The environment and the way the quilt is used will display different parts of the quilt more prominently. A wall-hanging will show the entire quilt top evenly, unless it’s partially draped over a pole or piece of furniture which may obscure the top row or two. Using your quilt as a bedspread will draw focus towards the center and may obscure the right, left and bottom sides. And if your memory quilt will be accompanying you on outdoor adventures, you may want to choose shirts more durable to the elements––although all MemoryStitch t-shirt quilts are machine washable, so don’t worry about getting them too dirty.
To sum up, be sure to consider what your memory quilt will be used for if you want to tailor the design accordingly.
TIP #3: CHOOSE A PLEASING COLOR LAYOUT

Color is left entirely up to taste, but the most jaw-dropping t-shirt quilt designs have a keen eye for how different colors play off of each other. Some colors naturally play well with each other––complimentary colors like orange and blue, green and red, etc.––but it’s also fun to play with colors that really pop with strong contrasts. For example, if most of your shirts are black or gray, having loud, vibrant shirts sparingly dotted throughout the quilt will give the layout more character. Color can also be used to create fun shapes within the grid of t-shirts, such as a bullseye with layers of color or maybe the impression of a giant heart.
TIP #4: BALANCE BIG AND SMALL GRAPHICS

Not all graphic t-shirts are designed the same, and to make your quilt even more appealing, it’s best to balance the graphics. What do we mean by that? Well, suppose you were to put smaller, more minimalistic graphic designs on the right side of your quilt and larger, bolder graphics on the left. The left side would be overpowering compared to the simplicity of the right side. In order to balance this out and not leave any section feeling too “heavy” be sure to balance graphics––as well as color––throughout the quilt to make the whole design feel unified.
TIP #5: USE YOUR T-SHIRTS TO TELL YOUR STORY

Finally, this tip supersedes every other one: focus on telling your story! Ultimately, you are the expert of your passions and your memories, so if you think certain shirts belong next to each other in ways that may go against principles of color and balance, then go with your instincts. The goal is not to make a t-shirt quilt that is mathematically perfect but to make a quilt that preserves your favorite memories in a style that you’ll love for years to come. Allow yourself to experiment with colors and patterns freely to make something that feels uniquely “you.”
Ultimately, memory quilts are all about your personality, so don’t be scared of designing your quilt––make it as simply or as elegant or as flashy as you want. It’s all up to you!
NOW IS THE TIME TO GET YOUR MEMORY QUILT STARTED
For upcoming holidays, birthdays and other special occasions, start designing the perfect t-shirt quilts for yourself or your loved ones today to beat the rush. Head over to our collection, find the right style of quilt or pillow and have fun with these design tips to create a quilted keepsake you’ll love for years to come. Also, as we approach closer and closer to the holiday season, you won’t want to miss all the deals and savings events we have in store, so stay updated by following us on Instagram and Facebook.
You have everything you need to get started designing your memory quilt, so preserve those memories today!


