


How to Make a T-Shirt Quilt with MemoryStitch
Learning How to Make a T-Shirt Quilt Full of Memories
is as Easy as 1-2-3.

Choose Cherished Memories to
Make a Quilt from T-Shirts With
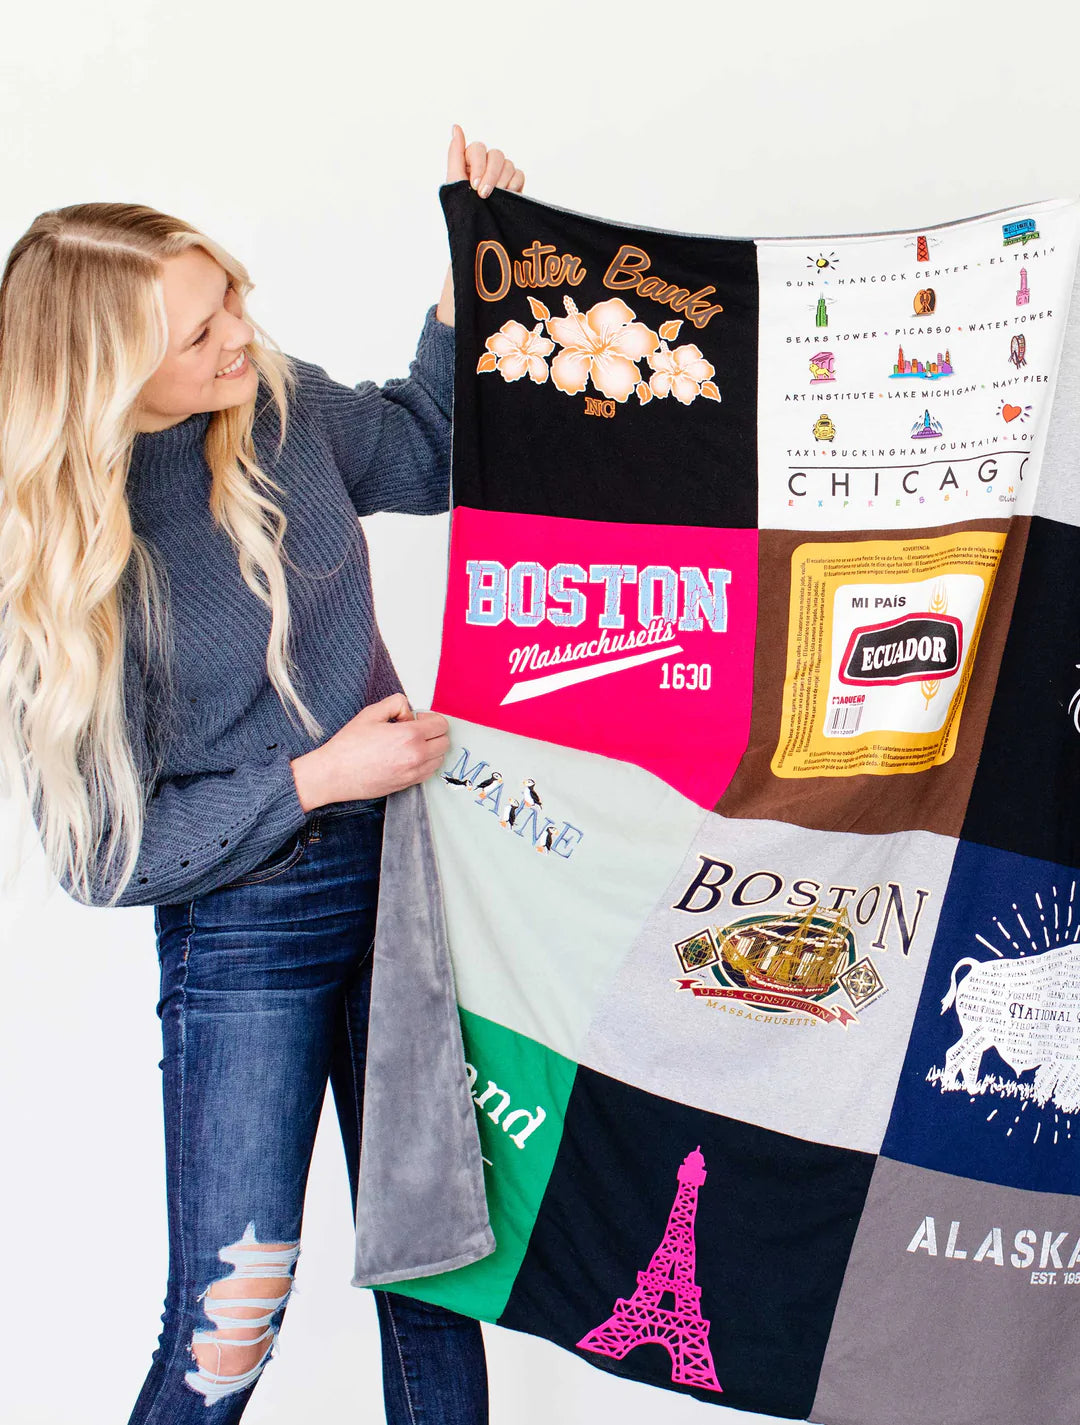
Selecting your favorite shirts for your MemoryStitch
t-shirt quilt is often challenging. Don’t worry, though, because our different sizes use up to 64 different T-shirt panels. The more t-shirts, the bigger the quilt and the impression it will leave.
Simply choose your t-shirts (while avoiding any shirts with holes or rips), then wash them one last time.

How to Cut Your T-Shirts
for your T-Shirt Quilt
Many people enjoy getting close to their t-shirts – and holding those memories – one last time before sending them. If this sounds like you, preparing your shirts is easy. Simply cut your shirt up the side seams, so you have two pieces: a front and a back. You’ll send us the side of each t-shirt you want to be included in your quilt.
If you’d rather trust us to make the necessary cuts, we’re happy to help for a small additional fee. Either way, you can trust that we understand they’re more than t-shirts. They’re some of your most cherished memories, and we’ll treat them that way.

Make a Quilt from T-Shirts
for a Lifetime of Memories.
When you send us your t-shirts, we’ll stitch them together and return them to you in a quilt that will provide warmth and memories for many years. Once your project is complete, we’ll ship your order to your US address for free!
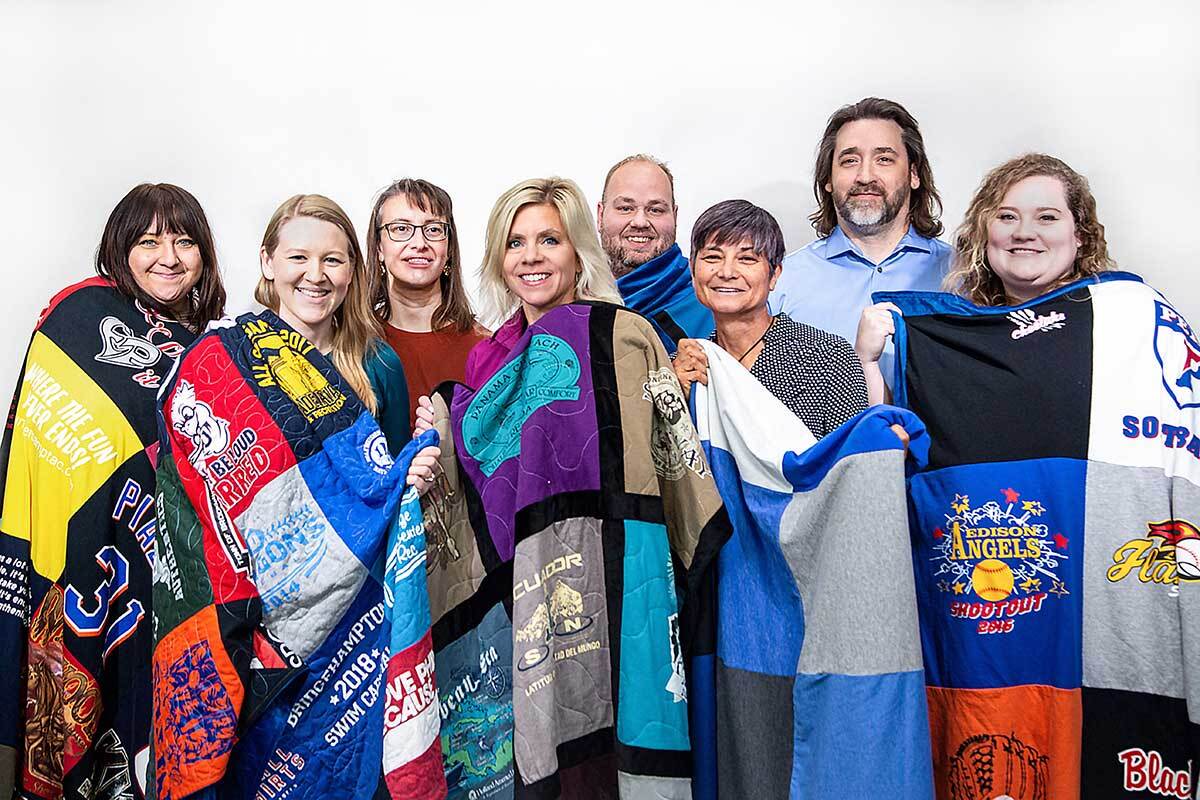
Transform Your T-Shirts into the Perfect Gift
MemoryStitch offers various options to a make a quilt from t-shirts for remembering late loved ones with, including double-sided t-shirt quilts, kids t-shirt quilts, and t-shirt pillow cases. We understand that the t-shirts used are more than just clothes, and we aim to give you something tangible to remember your friends and family with. Choose t-shirts for your quilt, and contact us to get started today.


