


How To Prepare Your Shirts
Please be sure to read and follow our instructions to properly make your quilt. Not doing so could result in additional fees if extra time or materials are needed.
Step 1: Gather the Shirts
It is important to select and send the correct number of shirts for the product you have ordered. Remember that each shirt can count as 2 panels if you want to use both front and back!
If we receive extra shirts, we cannot guarantee their return. Any paperwork you send in with your t-shirts will not be returned to you.
All quantities below represent front or back panels of shirts.
T-Shirt Quilt &
Premium T-Shirt Quilt with Long-Arm Stitching
- Lap - 16 panels
- Twin - 24 panels
- Full - 30 panels
- Queen - 49 panels
- King - 64 panels
Double-Sided T-Shirt Quilt
- Lap - 32 panels
- Twin - 48 panels
- Full - 60 panels
- Queen - 98 panels
- King - 128 panels
If you have specific t-shirts that you want on specific sides, we need a layout photo for each side!
Kids T-Shirt Quilt &
Onesie Quilt
- Small - 24 panels
- Medium - 30 panels
- Large - 49 panels
Fuzz Monsta
- 3 × 4 - 12 panels
- 4 × 5 - 20 panels
T-Shirt Pillow
- 16 × 16 - 1 panel (16" × 16")
- 24 × 24 - 4 panels (12" × 12")
T-Shirt Pillow Case
- Standard - 4 panels (10" × 13")
- Queen - 4 panels (10" × 15")
- King - 4 panels (10" × 18")
Panel sizes on pillows and pillow cases are not adjustable.
We recommend measuring your t-shirts prior to sending them to make sure the graphics will fit inside the panels.
Step 2: Cut your T-Shirts
Onesie Quilt Customers: Cutting service included with your purchase. Skip to Step 3!
Only send the side of the shirt you want used in your project. Simply cut your shirts along the seams to help our team use the desired side and help you save on shipping costs.
Don’t want to cut your shirts? We can do that for you! Just select the “cut my shirts for me” option that pops up when you go to check out.
Watch the video below for step-by-step instructions!
Please do not pre-cut your panels. Materials sent in should be at least 2 inches more than your desired panel size. For example, 12" × 12" panels require at least 14" × 14" of material.
Step 3: Fill out the Order Checklist

To ensure we can fulfill your order without any hiccups, please review and fill out the order checklist and email it and any instructions to info@memorystitch.com PRIOR to shipping your shirts. If you have a preferred layout for your quilt, you MUST include a photo of your shirt layout with your checklist. Please do not stack shirts in the order you want, as they will shift in shipping.
Download ChecklistStep 4: Send us your Shirts
Send your shirts in a box that has enough room. Don’t forget to include your order number on the shipping label from your carrier of choice on the outside of the box.
If you’re submitting two or more quilts in the same box, please email us images of your layout for each individual project or separate projects in marked bags. Otherwise, ship shirts for different projects separately.
Ship to:
MemoryStitch - Order #_______
800 Pioneers Blvd
Lincoln, NE 68502
DO NOT send your shirts in with pins, needles, sticky notes, or rubber bands. If you would like to provide specific instructions, please contact us.
Next Steps
-
Shirts Received
Once your tracking number shows that your package is delivered, we have your shirts in our secure receiving warehouse. -
Project In-Progress
We will send you a confirmation email once our team has started working on your project.
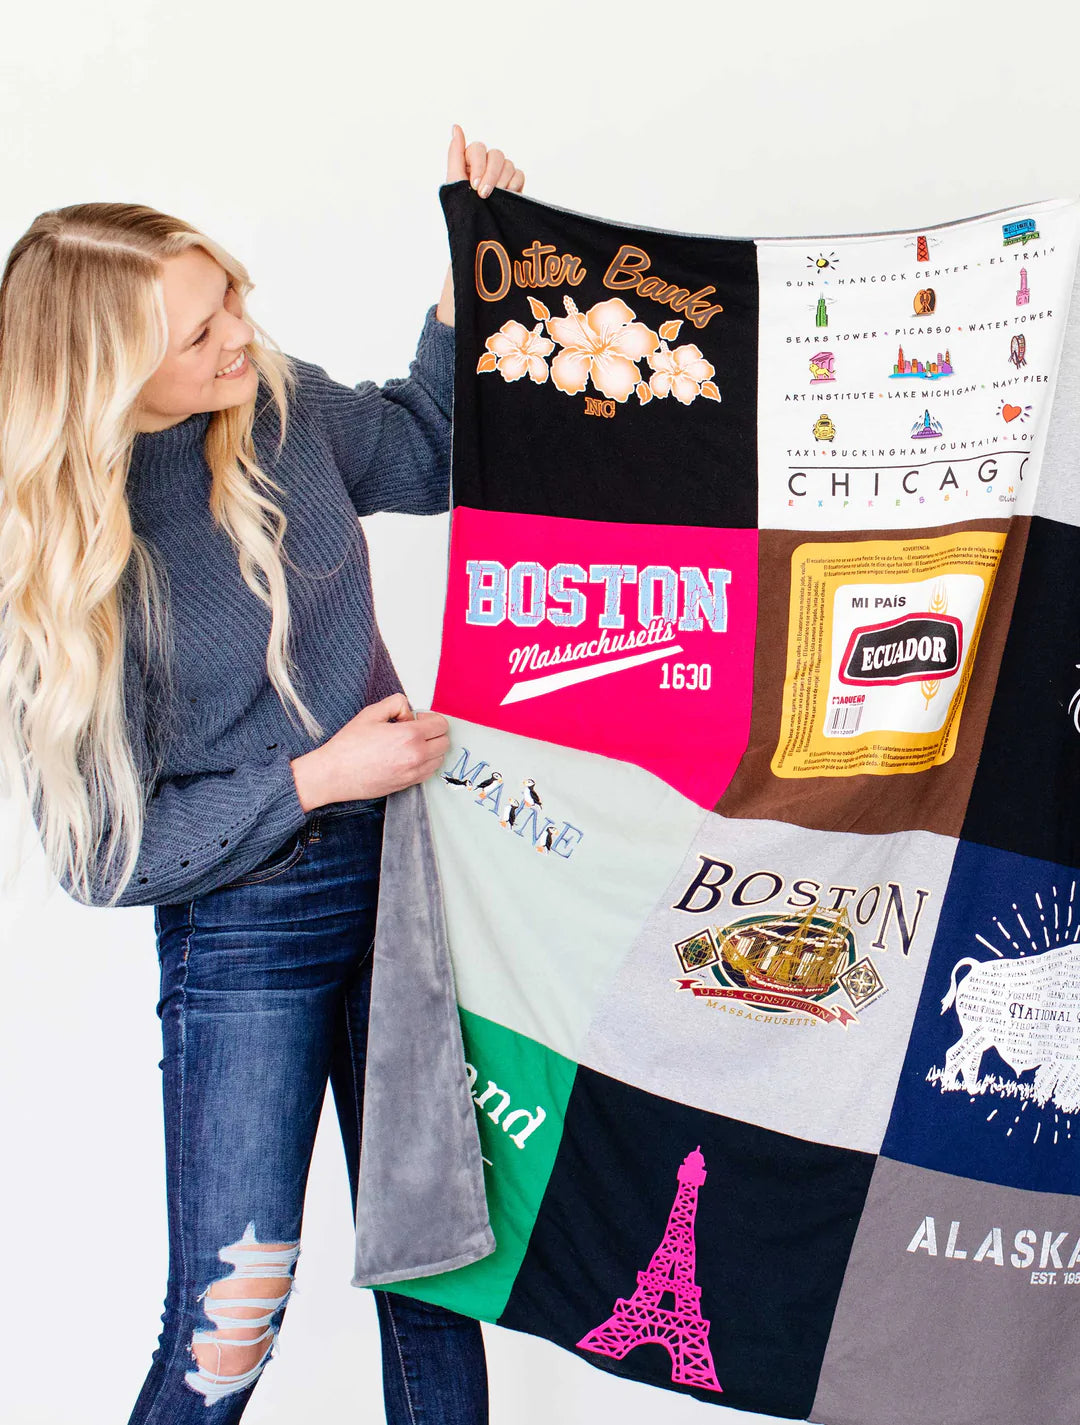
Your Story Every t-shirt quilt tells a story, we can’t wait to stitch your story together!
Tell Us Your StoryQuestions? If you have any questions or concerns at any point, our team is happy to help.
Contact Us